How to Print QR Codes: Complete Guide for Every Material
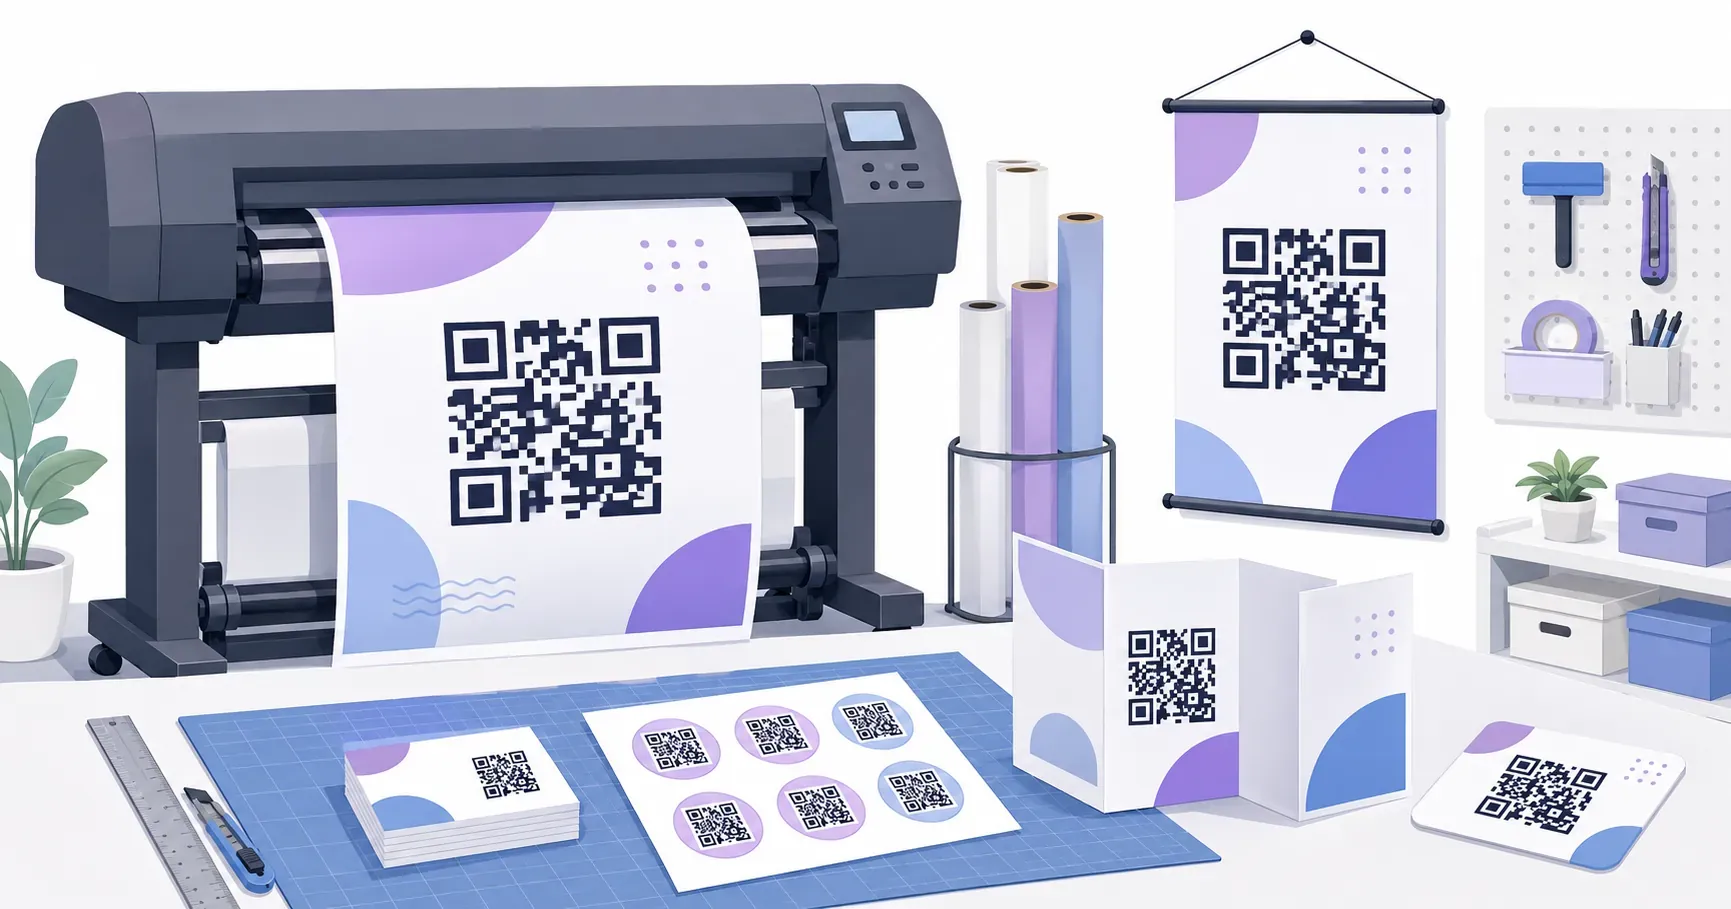
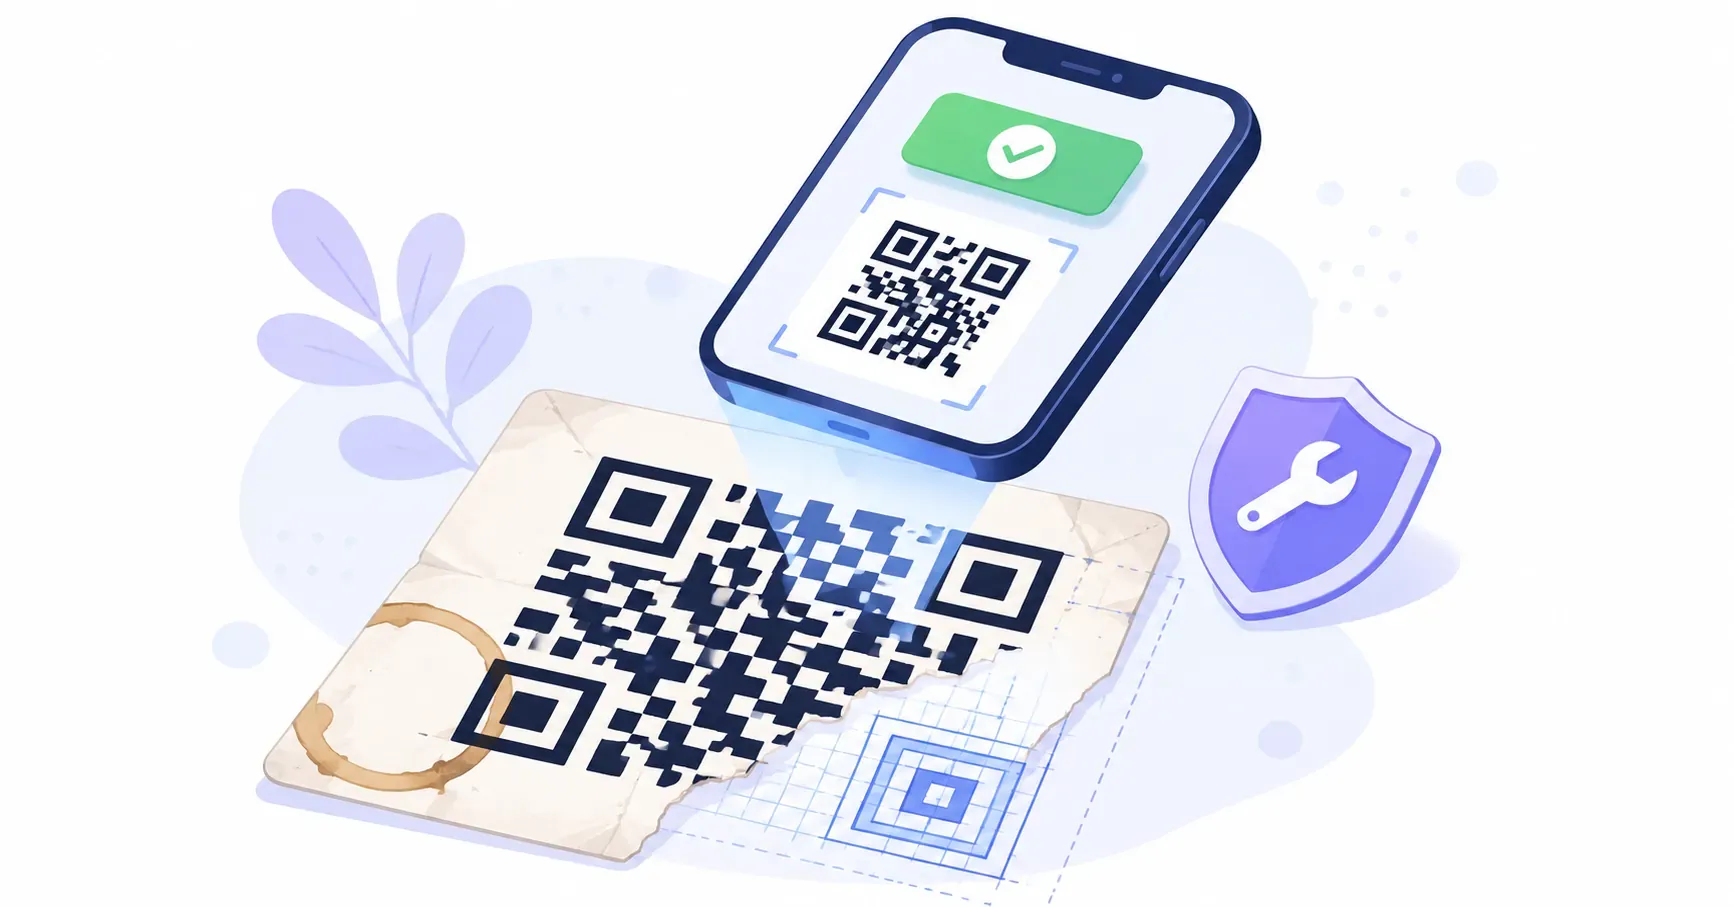
You approved the artwork on a bright monitor, sent it to the printer, and the finished flyers won’t scan. The code looks identical to the one on your screen — but paper, ink, and light behave nothing like a backlit display. Learning to print a QR code that scans every time is less about the design and more about a handful of production settings most people never touch: file format, color mode, resolution, and the margin around the code. This guide walks through all of them, then goes material by material — paper, labels, packaging, and large format — with the specific gotchas each one throws at you. Get these right and your printed QR codes work on the first scan, every time.
Before You Print a QR Code: Choose the Right File
Everything downstream depends on the file you start with, so choose it before you touch a layout. A QR code for print starts as one of two file types, in order of preference.
An SVG (a vector file) is the better choice whenever your printer accepts it. Vectors have no fixed resolution — they scale from a wallet card to a wall banner with sharp edges, so one SVG covers every size, with no way to over-enlarge it into blur.
When the print shop insists on a raster file, use a PNG exported at final print size and at least 300 DPI. The critical detail is exporting at final size: a small PNG stretched up in a layout program turns crisp modules into fuzzy gray squares. The exact dimensions and DPI thresholds live in the QR code size guide; this article assumes you know the size and focuses on getting it onto a material. QRocket exports both SVG and high-resolution PNG for free, so a press-ready file is one click.
Export a press-ready SVG in one click — free, no watermark to remove later. — Create Your Free QR Code
How to Print a QR Code: Settings That Matter
The most useful QR code printing tips have nothing to do with design: three production settings separate a code that scans from one that doesn’t. None of them are visible on a monitor, which is exactly why they get missed.
Resolution and Scaling
Resolution is about how many dots make up each module. At 300 DPI, a printed code has enough dots per module to hold sharp corners; below that, edges soften and scanners hesitate. For small codes under about 3 cm, step up to 600 DPI so the finer modules stay distinct. And never scale a raster file up after export — enlarging a 300 DPI PNG in a layout tool drops its effective resolution and reintroduces the blur you were avoiding. If you need it bigger, re-export at the larger size or use an SVG.
CMYK vs RGB — and Rich Black
Your screen shows color in RGB; professional presses print in CMYK. If you send an RGB file to a CMYK press, colors shift during conversion — and for a QR code, an unexpected shift can shrink the contrast the scanner needs. Convert to CMYK yourself before handing off, so you control the result.
One specific trap: rich black. Designers often build black from all four inks (a “rich black”) for deep, saturated fills. On fine QR modules, that four-ink buildup can misregister slightly and blur the edges. Set the dark modules to 100% K only — pure black ink, no other channels. It stays crisp and holds its shape at small sizes.
Protecting the Quiet Zone in Layout
The blank margin around a code is functional, not decorative. The QR code standard (ISO/IEC 18004) calls for a quiet zone of 4 modules of clear space on every side, and scanners use it to locate the pattern. In layout, that margin has to survive cropping, bleed trims, and folds. Never let a design element creep into it, and never place a code across a crease, spine, or panel fold — the bend distorts the pattern right where the scanner is trying to read it.
Printing on Paper and Cardstock
A glossy business card catches the overhead light, throws a white streak across the code, and the scan fails — even though the printing is flawless. Glare is the single most common in-hand failure on paper.
Choose matte or uncoated stock for anything carrying a QR code. Matte scatters light instead of reflecting it in a hard line, so the code stays readable under office fluorescents and restaurant spotlights alike. If a job has to be glossy for brand reasons, test the finished piece under direct overhead light before approving the run, tilting it the way a real user would.
Cardstock behaves well, but watch ink absorption on uncoated or recycled stock. Porous paper wicks ink outward, thickening the dark modules and closing the gaps between them; on very absorbent stock, a slightly larger code survives the bleed. Color choices matter here too — the QR code colors that scan still apply on paper, because a low-contrast palette only gets worse after ink spreads.
Printing on Labels, Stickers, and Packaging
Packaging is where flat-world assumptions break. The moment you print a QR code on labels that wrap a bottle, a jar, or a tube, the curve starts bending the pattern — and a scanner reading a distorted grid can fail.
The rule for curved surfaces: keep the code small relative to the curve radius, or place it on a flat panel. A code on the flat back label of a shampoo bottle scans reliably; the same code stretched around a narrow cylinder does not. On tight curves like lip-balm tubes, shrink the code so it occupies a nearly-flat arc, and always test on the actual container, not a flat proof.
A few more packaging notes worth building into your spec:
- Lamination: food-safe and protective laminates over a code are fine — as long as they are matte. Glossy film reintroduces glare, so specify a matte finish.
- Substrate color: metallic and dark packaging films fight contrast. Print the code inside a solid light panel rather than directly on foil or kraft.
- Die-cut and label edges: keep the quiet zone clear of the label’s cut edge so trimming never clips the margin.
Large Format: Banners, Windows, and Signage
Scale changes the failure modes. On a 2-meter banner, resolution stops being the worry and physics takes over.
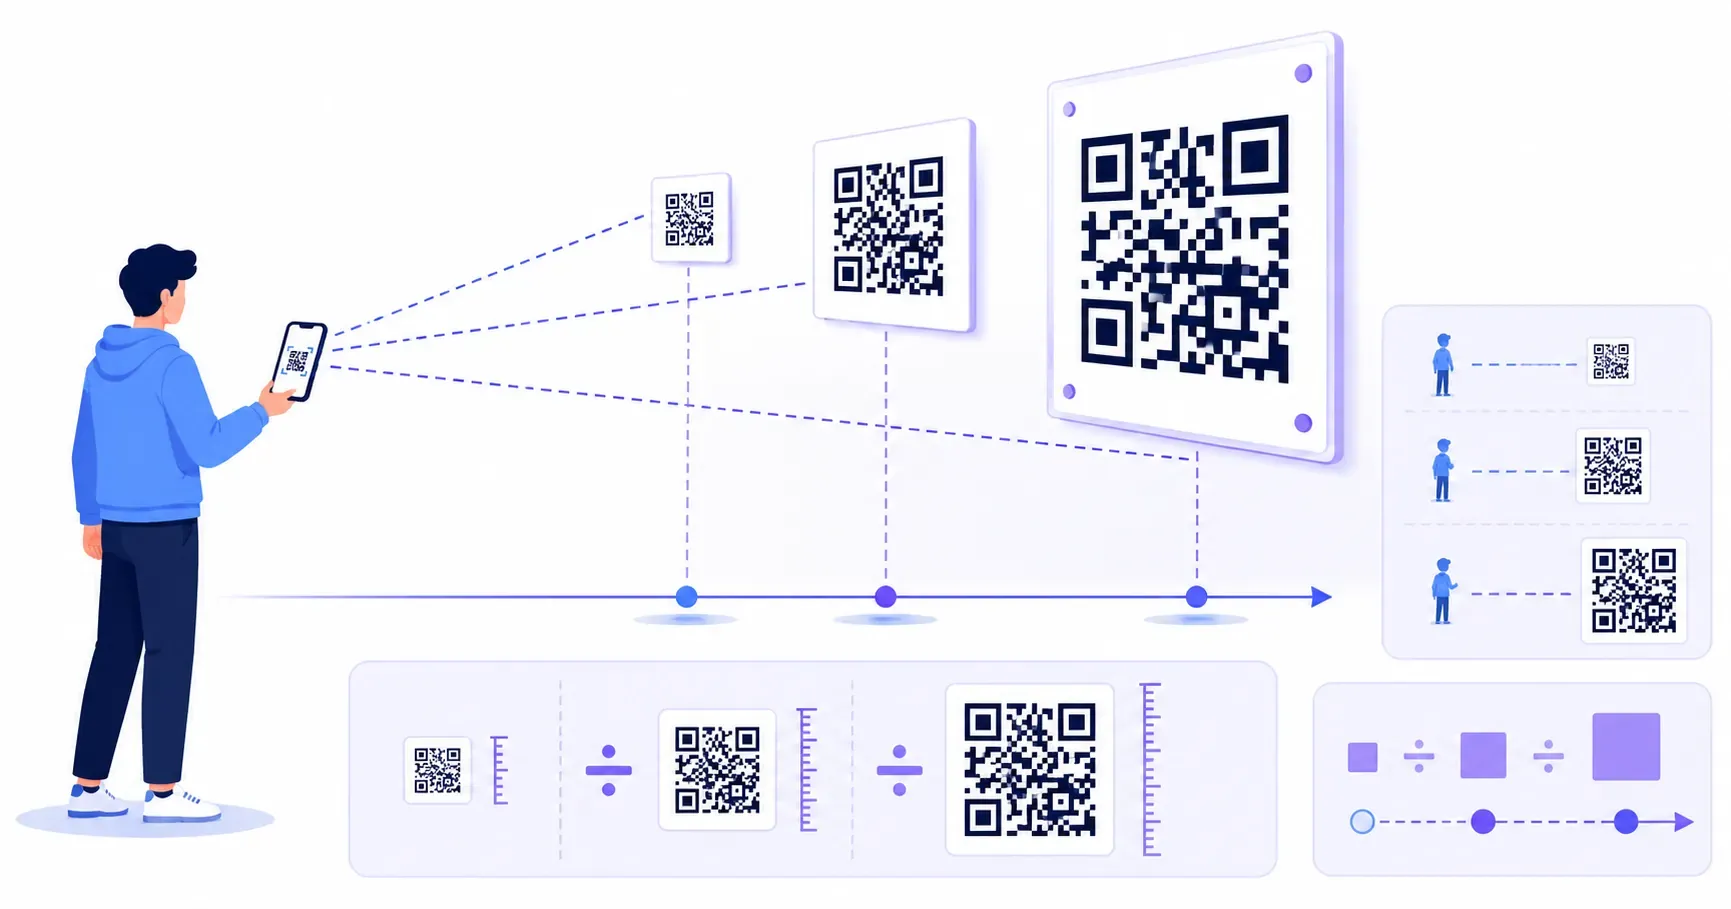
Size large-format codes by viewing distance using the 10:1 rule from the sizing guide — a code scanned from 3 meters needs to be at least 30 cm wide. Beyond size, three material issues dominate:
- Vinyl banner stretch: grommeted banners pull taut and can distort a code printed too close to the edge. Keep codes centered in a panel, away from tension points, and print on a dimensionally stable material for anything permanent.
- Window clings and glass: a code on a storefront window is read through glass that reflects the street. Account for glare by sizing up and, where possible, positioning the code out of direct sun-and-reflection lines.
- Distance from the substrate: window and floor decals are often scanned at a steep angle. A larger code tolerates the angle better than a borderline-sized one.
For the placement, framing, and call-to-action treatment around large codes, the QR code design guide covers the layout side.
The Pre-Press QR Checklist
Run this list before you approve any print run. It takes two minutes and catches nearly every scan-killing mistake.
- Vector file (SVG) supplied, or a PNG at final size and 300+ DPI (600 DPI under 3 cm).
- CMYK color mode, converted before handoff — not left in RGB.
- Dark modules at 100% K only, no rich black.
- Quiet zone intact — 4 modules of clear margin on all sides, safe from crop and bleed.
- No fold or seam running through the code.
- Final-size proof printed on the actual stock and finish.
- Scan the proof, not the screen — read the physical proof with two phones under real lighting.
That last step is the one people skip and regret. A code that scans on a monitor tells you nothing about how it behaves as ink on a surface. If the proof fails, re-export a clean SVG from QRocket before you touch anything else.
Common Printing Mistakes That Kill Scans
Most failures when printing QR codes trace back to the same short list. Knowing them by name helps you catch them in someone else’s file, too.
| Mistake | What happens | Fix |
|---|---|---|
| Scaling up a small PNG | Fuzzy modules, soft edges | Re-export at size or use SVG |
| RGB sent to a CMYK press | Colors shift, contrast drops | Convert to CMYK yourself first |
| Rich black modules | Ink misregisters, edges blur | Use 100% K only |
| Cropped quiet zone | Scanner can’t locate the code | Reserve 4-module margin |
| Glossy lamination or stock | Glare washes out the pattern | Choose matte finishes |
| Ink bleed on porous paper | Modules thicken and merge | Size up or use coated stock |
These map cleanly to industry standards — GS1’s print-quality guidance for 2D codes flags the same culprits: low resolution, poor contrast, and margin violations. The checklist above keeps you clear of every row.
Print It Once, Scan It Forever
The gap between a code that works on screen and one that works in the world is entirely in the production details — the file, the ink, the finish, the margin. None of them show up on your monitor, which is why the proof scan is the most important step in this whole guide. Download the SVG from QRocket, hand your printer the pre-press checklist, and scan the first proof before you approve the run. A thirty-second test on a physical proof is the cheapest insurance against a five-figure reprint.
Frequently Asked Questions
What file format should I use to print QR codes?
Use an SVG whenever your printer accepts vectors — it scales to any size with no quality loss. If you need a raster file, export a PNG at the final print size and at least 300 DPI (600 DPI for codes under 3 cm). Never enlarge a small PNG in the layout stage.
Should QR codes be printed in RGB or CMYK?
CMYK for any professional press. Convert the file yourself before handoff so you control the color shift, rather than letting the press do it blindly. Set the dark modules to 100% K — pure black ink — instead of a rich black built from all four channels, which can blur fine module edges.
Why does my printed QR code scan on screen but not on paper?
Three usual causes: glare from glossy stock, ink bleed thickening the modules on porous paper, or a low-resolution file scaled up. Reprint a matte proof from a vector file, check the quiet zone survived trimming, and scan the physical proof under real lighting before the full run.
Can I print a QR code on a curved bottle or jar?
Yes, if the code stays small relative to the curve or sits on a flat label panel. A gentle curve is fine; a tight cylinder distorts the pattern enough to break scanning. Always test on the actual container rather than a flat proof, since the curve is the whole problem.
Do I need to laminate printed QR codes?
For outdoor signage, kitchens, or anything exposed to moisture and handling, yes — lamination protects the code. Choose a matte laminate. Glossy film adds a reflective layer that throws glare across the pattern and can block scans under direct light, undoing the protection you added it for.
Create a free QR code with custom colors, your logo and print-ready downloads — no sign-up.