QR Codes on Business Cards: The Complete Guide
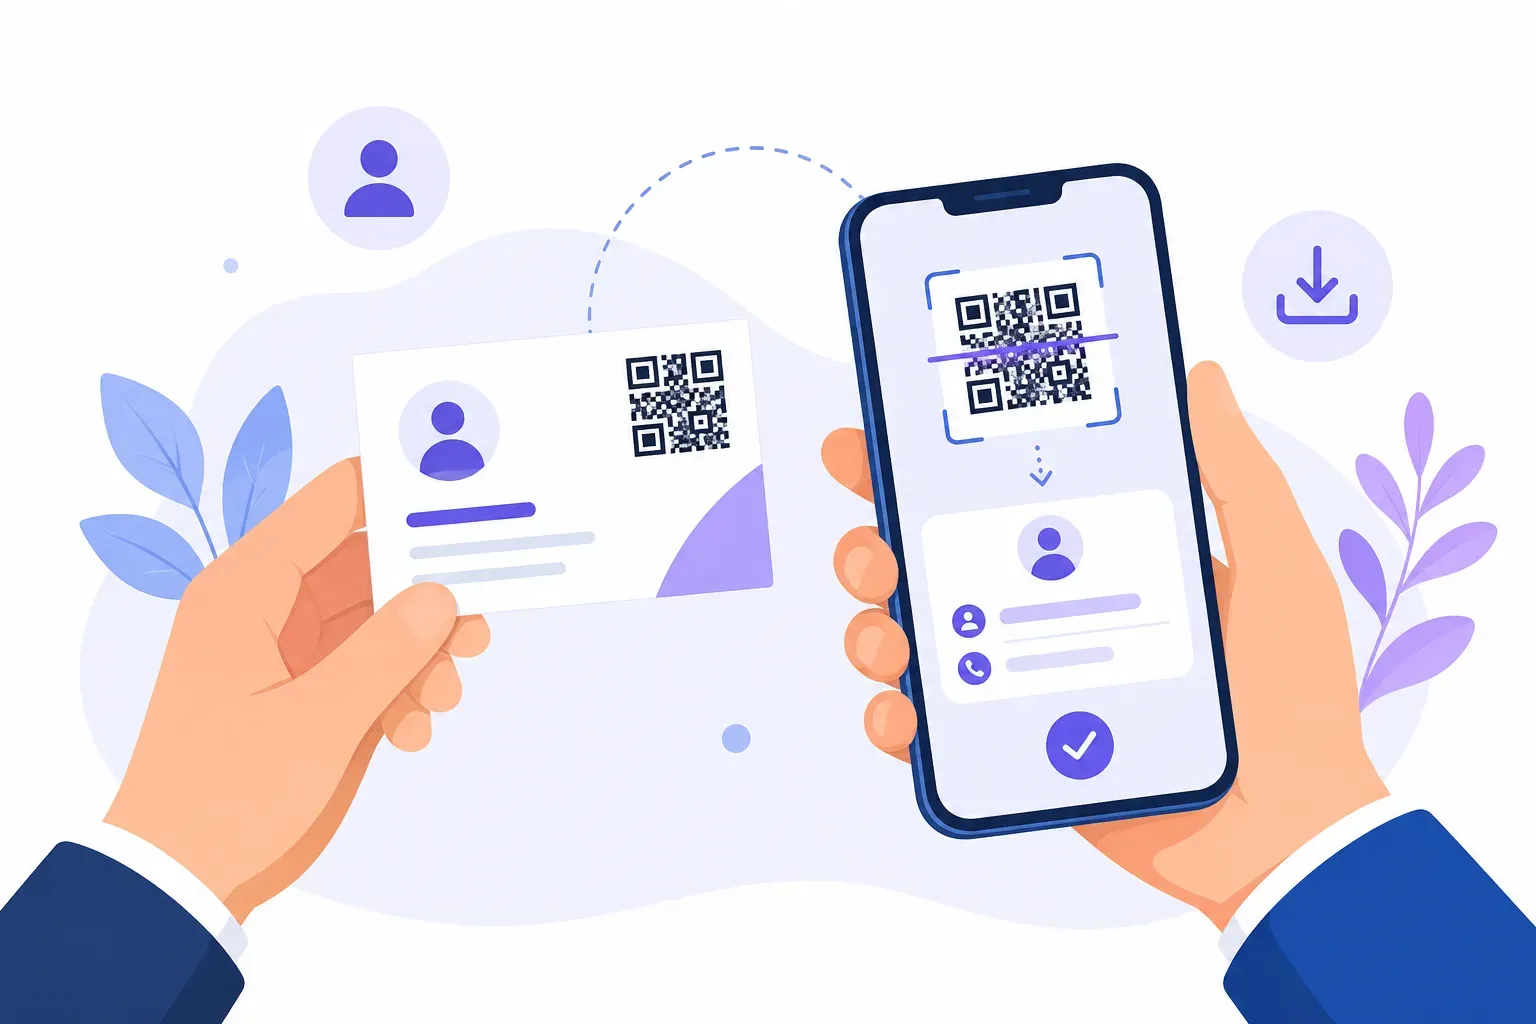
Most business cards die in a pocket. The handshake goes well, the card changes hands, and a week later it’s in a drawer with the details never typed into a phone. A QR code on a business card fixes the weak link: one scan and your contact details, portfolio, or LinkedIn profile move from paper to phone before the conversation is even over.
Adding the code is the easy part. The decisions around it are where cards go wrong — what the code should link to, front or back placement, how big it can be on an 85 × 55 mm card, and which print finishes will quietly break it. This guide walks through each decision in order, ending with the test to run before a 500-card print run.
Why Put a QR Code on Your Business Card
A card does its job in the moment: it’s tactile, fast to hand over, and carries your branding. What it doesn’t do is get your details into a contacts app — typing them from a card takes a minute or two, so most people skip half the fields or skip the card entirely.
The code closes that gap: a two-second scan replaces the typing, and the information survives even if the card doesn’t. Since a static code never expires, the box of 500 stays valid for as long as the destination does. Choose that destination carefully — it’s the biggest decision here.
What Should the Code Link To? A Decision Framework
Everything else on this page is execution. This is strategy. Four destinations cover almost every professional, and the right one depends on what you want the person to do the day after they meet you.
A vCard — the default for most people. Scanning saves your name, phone, email, company, and website straight into the contacts app — no website in between. If your goal is “make sure they can reach me,” nothing beats it. Our tutorial on creating a vCard QR code covers the setup, and how vCard QR codes work explains the format. One trade-off: a vCard packs a lot of text into the pattern, so the code is denser and needs the full recommended size.
Your LinkedIn profile. The right choice when the relationship will live on LinkedIn anyway — recruiters, salespeople, anyone job hunting. A profile URL is short, so the code is sparse and forgiving at small sizes. The risk: it assumes the other person uses LinkedIn.
A portfolio or personal site. For designers, photographers, and developers, the work is the pitch — a card that opens your best three projects says more than any job title. More on this approach in our guide to QR codes on resumes and portfolios.
A link-in-bio page. Can’t pick one? A single page listing your contact details, work, socials, and booking link covers every case — at the cost of one extra tap between the scan and the thing they wanted.
The rule in one line: contact-first professions choose the vCard, network-first choose LinkedIn, work-first choose the portfolio — and link-in-bio only when you genuinely need all three.
Front or Back: Where the Code Goes
The back of the card is the better home in almost every case. It gives the code room — you can print it at 2.5 cm or larger with a generous quiet zone, add a short label, and leave the front clean for your name and branding. Flipping a card over is instinctive, so nobody misses it.
The front corner works when the back is spoken for — dual-language cards, appointment grids. Bottom-right is the convention, with two cautions: the code competes with your name for attention, and card edges get trimmed with a tolerance of a millimeter or so. Keep the code at least 5 mm from any trim edge so the cutter never clips the quiet zone.
Sizing on a Standard 85 × 55 mm Card
Standard cards measure 85 × 55 mm in most of the world and 3.5 × 2 inches (89 × 51 mm) in the US — small enough that a QR code on a business card runs into a real sizing constraint.
The working minimum for a close-range scan is 2 × 2 cm, plus a quiet zone of empty space on all four sides — roughly four module widths, or 2–3 mm at this scale. Anything smaller starts failing on older phones and in dim light.
Two refinements for cards specifically:
- vCard codes should go bigger. Longer data means finer modules. Print a vCard code at 2.2–2.5 cm; on the back of a card, the layout always allows it.
- The quiet zone counts as part of the footprint. A “2 cm code” really claims about 2.5 cm of card. Budget for it in the layout.
The full math on module density and scan distance lives in our QR code size guide; for business cards the summary is 2 cm minimum, 2.5 cm for a vCard.
Match Your Branding Without Killing the Scan
A pure black-and-white square can look bolted on, and it doesn’t have to be. Scanners need contrast, not black — so keep the rule dark modules on a light background and choose your darks from the brand palette. Navy on white, charcoal on cream, deep forest green on pale gray: all scan fine.
Where cards get into trouble:
- Low-contrast elegance. Gold on ivory and gray on white look refined and scan terribly.
- Inverted codes. Light modules on a dark card confuse many scanning apps. On dark stock, print the code inside a light panel rather than reversing it.
- Decorating past the limit. Rounded modules and a small centered logo are safe; heavy stylization at 2 cm is not. Detail that survives on a poster disappears at card scale.
QRocket’s live scannability meter flags contrast and styling problems as you make them, which takes out the guesswork. For the full set of styling rules, see our QR code design guide.
Print Specs Your Printer Will Thank You For
Business cards are printed small and trimmed fast, so file quality shows. Four specs cover it:
- Send vector. An SVG scales to any size with crisp module edges and converts cleanly to CMYK. Every serious card printer accepts it.
- If you must send raster, go 300+ DPI at final size. A 2.5 cm code needs roughly 300 pixels minimum — export at 1000 px and you’re safely covered.
- Prefer matte or soft-touch over gloss. Glossy stock throws reflections under office lighting, and a glare band across the pattern reads as missing modules.
- Keep specialty finishes off the code. Foil, spot UV, embossing, and letterpress all distort or mirror the surface — metallic foil in particular defeats scanners outright. Use those finishes on your logo and leave the code as flat ink.
Bleed, color mode, and general file prep are covered in our guide to printing QR codes; the points above are the card-specific traps.
Label It, Then Test Before You Order 500
A bare square invites a bare question: what does this do? Three to five words of microcopy next to the code answer it — “Scan to save my contact,” “Scan for my portfolio,” “Let’s connect.” On a card, clarity beats curiosity.
Then test — before the order, not after. Card printing is unforgiving in bulk, because a typo in your phone number ships 500 times.
- Print a proof at actual size and scan it from a natural hand-held distance, with at least one iPhone and one Android, in good light and bad.
- For a vCard code, open the saved contact and check every field — a transposed digit is invisible in the pattern.
- If your printer offers a physical proof on the final stock, scan that too; it’s the only test that catches finish problems.
Our checklist for testing a QR code before printing covers the complete routine.
Creating Your Business Card QR Code
In QRocket’s free generator, the build takes a few minutes:
- Pick the content type. vCard for contact saving; URL for LinkedIn, a portfolio, or a link-in-bio page.
- Fill in the details. For a vCard, only fill the fields you actually want saved — less data means a more forgiving code.
- Style it to the card. Brand-dark modules on a light background and an optional small center logo, with the scannability meter watching each change.
- Add a frame with your label. A built-in frame with CTA text keeps the code and its microcopy locked together.
- Download the SVG for the printer, plus a high-res PNG for digital use.
QRocket generates the static code entirely in your browser: free, no account, no expiry, no scan limits — and your contact details never touch a server, which matters when the payload is your personal phone number.
Put your contact details one scan away — free, no sign-up. — Create Your Free QR Code
The Card Gets Kept in a Phone, Not a Drawer
A business card’s real job was never to be kept — it was to make sure you are kept. Get the destination, placement, 2 cm minimum, and flat matte print right, test on a real proof, and the box of 500 becomes 500 chances to land in someone’s contacts instead of their recycling bin.
Frequently Asked Questions
What should my business card QR code link to?
A vCard is the most useful default: one scan saves your name, phone, email, and company directly to the person’s contacts. Link to your LinkedIn profile if that’s where the relationship will continue, a portfolio if your work is the pitch, or a link-in-bio page if you genuinely need to offer all three.
How big should a QR code be on a business card?
At least 2 × 2 cm (about 0.8 × 0.8 inches), plus 2–3 mm of empty quiet zone on all sides. vCard codes carry more data and scan better at 2.2–2.5 cm. On a standard 85 × 55 mm card, that fits comfortably on the back or in the front bottom-right corner.
Should the QR code go on the front or back of the card?
The back, in most cases. It gives the code room for a larger size, a full quiet zone, and a short label, while the front stays clean for your name and branding. Use a front corner only when the back is occupied, and keep the code at least 5 mm from the trim edge.
Can I print the QR code in my brand colors?
Yes, as long as the modules stay clearly dark on a light background — navy, charcoal, or deep green on white all scan fine. Avoid low-contrast pairs like gold on ivory, and don’t invert the code on dark stock; print it inside a light panel instead.
What file format should I send to the card printer?
An SVG. Vector files keep module edges crisp at any size and convert cleanly for professional printing. If the printer requires a raster file, supply a PNG at 300 DPI or more at final print size — around 1000 pixels for a 2.5 cm code is a safe export.
Create a free QR code with custom colors, your logo and print-ready downloads — no sign-up.