How to Test a QR Code Before Printing: The Complete Checklist
A print shop in your town has almost certainly produced this order: 10,000 brochures, beautiful design, and a QR code that points to a URL with a typo in it. Nobody scanned it until the boxes arrived. The fix cost a full reprint — when a two-minute check would have caught it. Learning to test a QR code before printing is the cheapest insurance in all of print marketing.
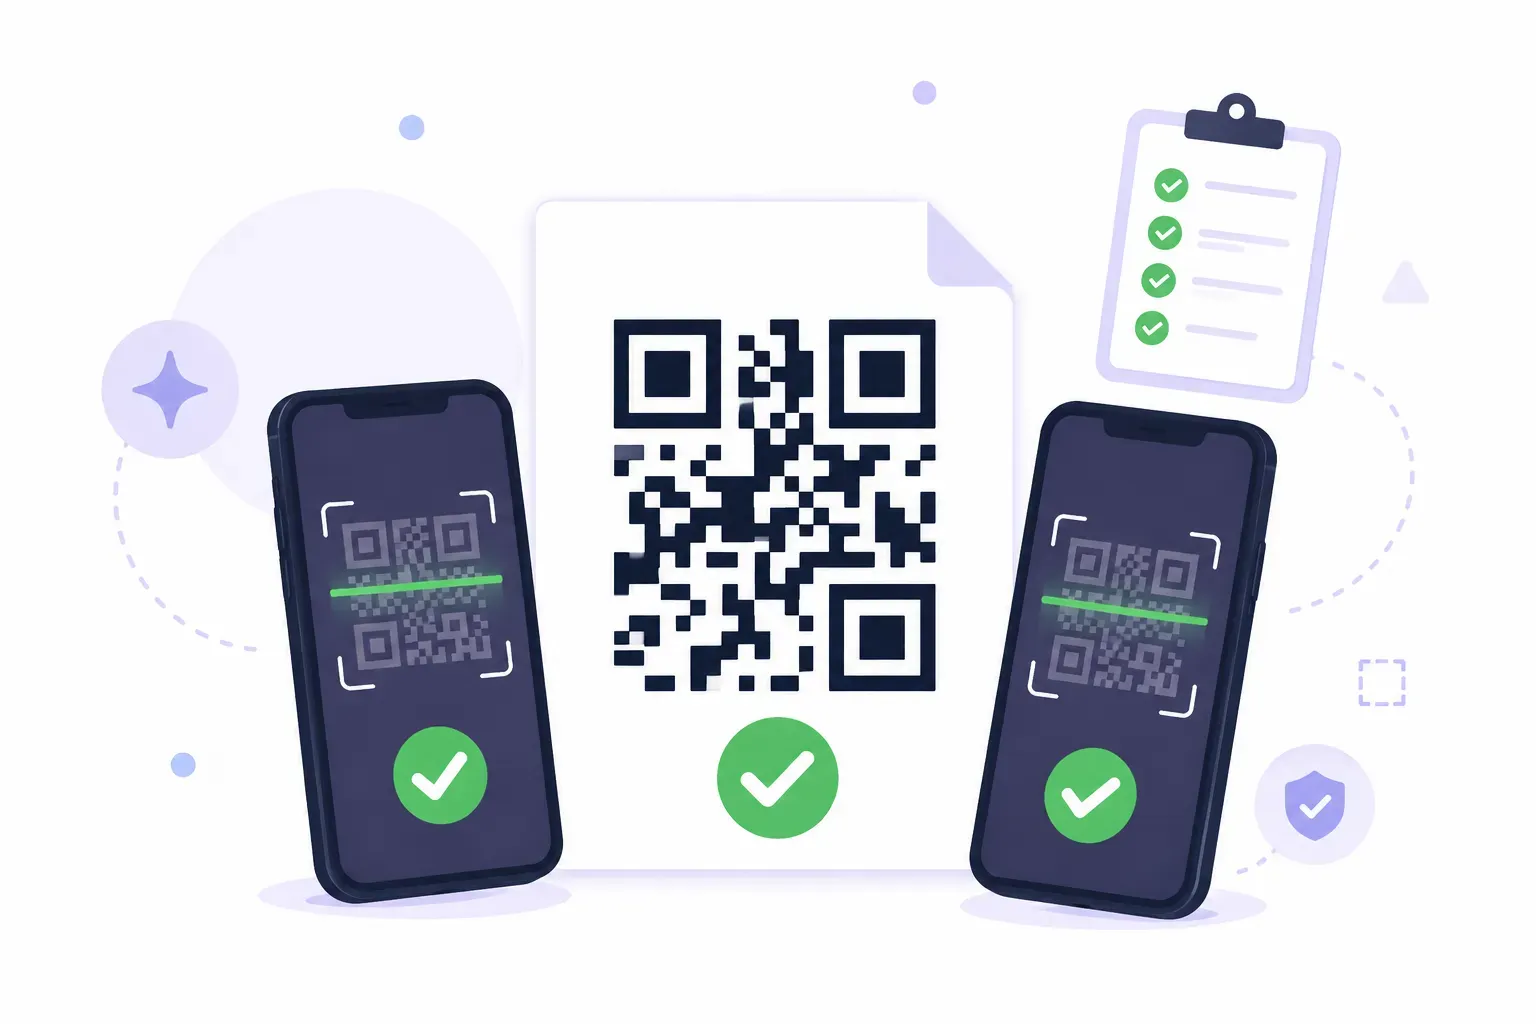
This guide gives you a repeatable pre-launch checklist: what to verify on screen, how to test across devices and lighting, why a real-size test print is non-negotiable, and how to diagnose the problem when a scan fails. Run it before every print job and you’ll never discover a broken code from a customer complaint again.
Why Testing Matters Before Launch
A QR code has no undo button. Once a static code is printed, the content inside it is permanent — a wrong digit in a phone number or a missing character in a URL ships to every copy. And unlike a typo in body text, a broken code fails silently: readers don’t report it, they just give up.
The failure math is unforgiving. If a poster costs $3 to print and you produce 500, one unverified character puts $1,500 of material in the recycling bin. Larger risks hide in longer-lived placements — a code etched on signage, embossed on packaging, or printed in a catalog with a six-month shelf life.
Testing catches all four failure categories before they’re multiplied by a print run:
- Content errors — typos in the URL, wrong QR type, missing
https://. - Design errors — low contrast, oversized logo, missing quiet zone.
- Print errors — too small for the scan distance, blur, ink bleed.
- Destination errors — page down, not mobile-friendly, behind a login.
Each category needs a different check, which is exactly what the checklist below walks through.
The QR Code Pre-Launch Checklist
Here’s the complete quality check in one place. It takes about ten minutes for a typical print job — copy it into your project notes and tick items off in order:
| # | Check | Pass Condition |
|---|---|---|
| 1 | Content proofread | Encoded URL/text matches the source exactly, character for character |
| 2 | On-screen scan | Code scans from your monitor with one phone |
| 3 | Contrast check | Dark pattern on light background, no inversion |
| 4 | Quiet zone | Blank margin of at least 4 modules on all sides in the final layout |
| 5 | Error correction | Level matches use: M for clean print, Q/H for logos or outdoor wear |
| 6 | Real-size test print | One copy printed at final dimensions on the final material |
| 7 | Multi-device scan | Works on iPhone, Android, and one older phone |
| 8 | Distance and lighting | Scans at the real-world distance, in the real-world light |
| 9 | Destination check | Page loads in under 3 seconds and works on mobile |
| 10 | Longevity check | URL is stable and under your control, not a temporary page |
Items 1–5 happen at your desk before anything prints. If you’re unsure about item 5, our error correction guide explains which level fits which environment. Items 6–10 are the physical round — the part most people skip, and where most surprises live.
How to Test on Multiple Devices and Lighting Conditions
One successful scan on your own phone proves very little. Your phone knows your habits, has a current OS, and is being pointed by the one person on Earth most motivated to make the scan work. Real-world scanning is messier, so your test should be too.
Aim for this minimum spread:
- Two operating systems. One iPhone and one Android — their camera apps decode differently, and a marginal code sometimes passes on one and fails on the other.
- One older device. A phone from several years back has a weaker camera sensor and is the closest stand-in for your least-equipped customer.
- Three lighting conditions. Bright daylight (watch for glare on glossy stock), normal indoor light, and dim evening light — the condition that kills marginal contrast first.
- A realistic angle and hand. Scan casually, slightly off-center, from a natural stance. Customers don’t line up a perfect perpendicular shot.
Also check the connection context. A code in a basement venue or a steel-framed building may scan instantly but load slowly on weak cellular data — if the destination is heavy, that delay reads as “broken” to the person waiting.
Create your test code in seconds, then verify it before you print — free, no sign-up. — Create Your Free QR Code
How to Test Printed Materials at Real Size
Scanning your monitor tells you the data is right. It tells you nothing about the print — and print is where size, resolution, and material problems appear. Always produce one physical proof at final dimensions before approving a run.
Real-size testing catches three problems a screen never will:
- Scale failures. A code that looks generous in a design file may print at 1.5 cm on the final business card. The working rule is a 1:10 size-to-distance ratio — a code scanned from 30 cm needs to be 3 cm wide. Verify against our QR code size guide before you print the proof, then confirm by scanning the proof at the true distance.
- Resolution and material failures. Ink spreads on uncoated paper, laser toner banding blurs fine modules, and glossy lamination adds glare. Print the proof on the actual stock, not office paper. Exporting as SVG keeps modules crisp at any size, which is one reason vector files are the safer choice for print — our guide on how to print QR codes covers formats and resolution in detail.
- Layout failures. Designers sometimes crop the quiet zone or run a background texture behind the code during final assembly. The proof shows the code as it will actually ship, surrounding artwork included.
Scan the proof with your full device spread, at the real distance, in the real light. Only then approve the run.
What to Do If a Scan Fails
A failed test is the checklist doing its job. Diagnose in this order — each step isolates one variable:
- Scan the on-screen version. If that fails too, the problem is the code itself: check the content and QR type first.
- Check contrast and inversion. Light-on-dark patterns and low-contrast brand colors are the most common design culprits. The safe combinations are in our QR code colors guide.
- Check size and density. If the print scans up close but not at the real distance, it’s too small — or the URL is so long that the modules are too fine. Shorten the URL or enlarge the code.
- Check the quiet zone. Make sure the final layout preserves the blank border on all four sides.
- Check the destination. If the phone recognizes the code but the page disappoints, the fix is on the web side, not the print side.
Most failures resolve at steps 2 and 3 with a five-minute regeneration. For a deeper diagnosis of stubborn cases — damaged prints, device quirks, dead URLs — our full guide on why a QR code isn’t working covers all ten failure causes. A tool with built-in feedback shortens this loop: QRocket’s live scannability meter flags contrast and density problems while you design, so most codes arrive at testing already sound.
Ten Minutes That Protect the Whole Print Run
The pattern behind every checklist item is the same: test in the conditions your audience will actually face, not the conditions most convenient for you. Your monitor, your phone, and your office lighting are the friendliest environment a code will ever see — every step toward realism is a step toward catching the failure that matters. Keep one older phone in a drawer as your permanent worst-case tester, make the real-size proof a hard rule, and generate your codes with QRocket’s free generator so print-crisp SVG output is never the weak link. The day the checklist catches its first would-be reprint, it pays for every run you’ll ever test.
Frequently Asked Questions
How many phones should I test a QR code on?
At least two — one iPhone and one Android — because their cameras decode differently and marginal codes can pass on one but fail on the other. Adding a third, older device gives you a worst-case check that closely matches your least-equipped reader. More devices help, but two systems is the floor.
Should I test the printed version or just the file?
Always test a printed copy at final size on the final material. Print introduces failures a screen can’t show: codes scaled down too far, ink bleed on uncoated stock, glare on lamination, and layouts that crop the quiet zone. One real-size proof before the run catches all of them.
What is the fastest way to catch a broken QR code?
Scan it with two different phones and follow the destination all the way through — page loaded, content correct, usable on mobile. Most broken codes fail at one of those two points: the scan itself or the landing experience. That two-minute check catches the large majority of problems.
What error correction level should I use for printed QR codes?
Level M suits clean indoor prints like flyers and business cards. Move up to Q or H when the code will face wear — outdoor signage, packaging, handled surfaces — or when a logo covers part of the pattern. Higher levels add density, so re-test the print size after raising the level.
How far away should a QR code scan from?
Test at the distance a real person will stand, and apply the 1:10 rule: the code should be at least one-tenth as wide as the scanning distance. A flyer read from 30 cm needs a 3 cm code; a poster read from 3 meters needs roughly 30 cm.
Can I reuse the same QR code after changing my website page?
Yes, as long as the URL itself stays identical — a static code encodes the address, not the page content. If the URL changes, even slightly, every printed code pointing to the old address breaks, so redirect the old URL or generate and reprint a new code.
Create a free QR code with custom colors, your logo and print-ready downloads — no sign-up.